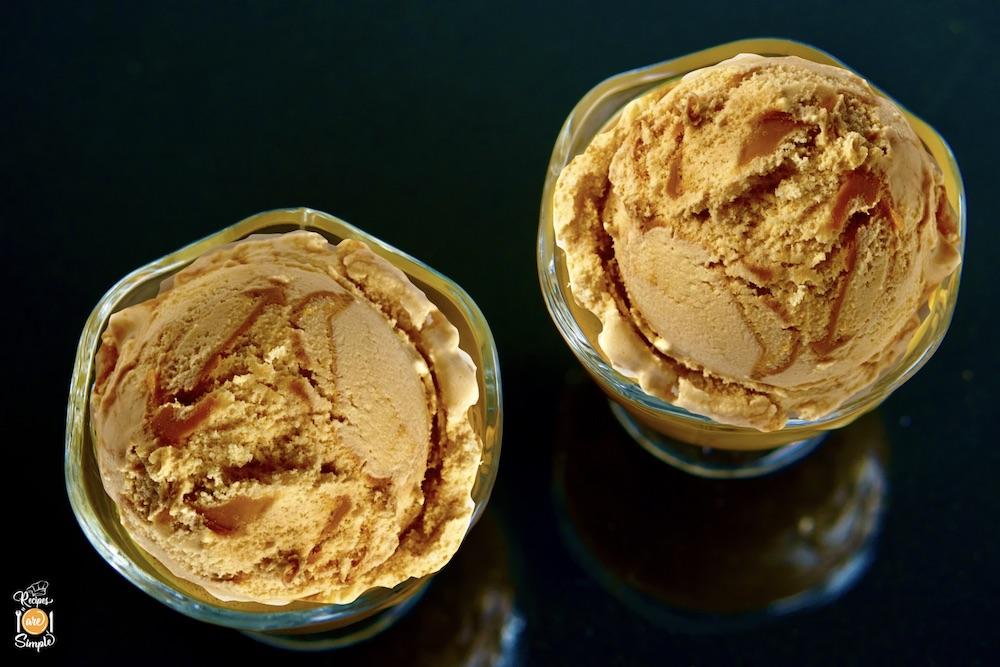
Want to make a Bold and intensely tasting, Burnt Caramel Ice cream? It is a super-easy ice cream to whip up, without an ice cream maker or eggs. It is definitely a unique flavor and can be used to add to layered desserts to create that unique oomph that is indescribable.
Burnt Caramel Ice cream (Eggless)
® This is a RAS signature Recipe©
♦Prep time:15 MIN ♦Cook time:10 MIN ♦Yield:8 SERVES.
A detailed introduction and related links are available on the
Recipe Intro ↓ : Check it out or scroll down for the Recipe and Video⇓.

EAT AND TELL!!! Let us know if you tried– Burnt Caramel Ice cream (Eggless)
| ♦Mail me your pics and testimonials 🙂 – recipesaresimple@gmail.com ♦If you make the dish and share it on your social media, please don‘t forget to tag me @recipesaresimple and hashtag it #recipesaresimple on any platform. ♥Please rate the recipe if you have tried it below ↓♦Quick Browse to see All Recipes by Category.♦World Cuisines to browse recipes by Country. ♥Thanks for visiting www.recipesaresimple.com |
Burnt Caramel Ice cream (Eggless)
Description
A "bold and intense" frozen treat that requires no ice cream maker and no eggs. This recipe captures a unique, bittersweet profile—achieved by pushing the caramel to a dark amber stage—which adds a gourmet "oomph" to layered desserts or stands alone as a striking treat. It uses a base of Evaporated Milk and Whipping Cream, resulting in a smooth, no-churn texture that mimics professional artisanal ice cream.
Ingredients:
Instructions
-
In a 2-quart saucepan, caramelize the sugar with the salt over moderate heat. Caramelize till you reach a color (slightly darker) than regular caramel. Just bits of black around the sides. Don't go too long, or your ice cream will turn out bitter.
-
Turn off the heat briefly. Have the 'pot lid' ready, and add a small amount of the evaporated milk. Cover immediately with the lid to prevent any violent spitting of the hot caramel. Uncover, add in the remaining evaporated milk, and return to moderate heat.
-
Stir very quickly and briskly till the hardening caramel begins to dissolve into the milk. Continue -till you get an even-coloured, dark, caramel, without any remaining lumps of caramel.
-
Simmer for 5 minutes till slightly thickened. Switch off the heat and allow it to cool off. Then, using a wire whisk (I use an electric one), beat till the caramel milk turns nice and frothy.
-
Pour into a freezer-safe metal bowl with a tight lid. Freeze for up to 2 hours (until the cream starts to crystallize all around the edges.
-
At this stage, use a fork to whip the mixture once again, scooping the crystallized parts into the center and folding it in. Set it back in the freezer. Repeat this process once (or twice if time permits).
-
Meanwhile, whip the whipping cream along with icing sugar and vanilla extract till you get stiff peaks.
-
Remove the caramel milk and beat it one last time but loosen it a bit more this time around.
-
Pour this into the bowl of whipped cream. Next, we need to mix the whipped cream and the chilled burnt-caramel milk mixture. Use an immersion blender to incorporate the chilled caramel mixture into the cream faster. Continue with electric beaters just till evenly mixed through. Don't overwhip it.
-
Pour into the metal bowl for the last & final time and chill overnight to set.
-
Scoop out the burnt caramel ice cream when time to serve it with some caramel sauce, dulce de leche, nuts, or plain.
-
It is a bold and intense ice cream and you don't need a large serving to be thoroughly satisfied!
Note
- You could add sea salt caramel chips or chocolate chips to this ice cream before setting.
- I like to use a thin layer of this ice cream for homemade ice cream cakes, to give them a distinctive edge in the flavour department.
- More detailed video of making Whipped Cream here.
- If you like you can add praline to the ice cream before setting. The making of praline is seen in this recipe.
- Key Ingredients: Sugar, Whipping Cream, Evaporated Milk, Coffee, Salt, Vanilla.