
A classic, old-school recipe for the made-from-scratch Pumpkin Pie. My kids’ favorite dessert request.
CLASSIC PUMPKIN PIE

® This is a RAS signature Recipe©
A detailed introduction and related links is available on the
Recipe Intro ↓ Check it out OR Scroll down for the recipe ⇓.

EAT AND TELL!!! Let us know if you tried – Classic Pumpkin Pie
| ♦Mail me your pics and testimonials 🙂 – recipesaresimple@gmail.com ♦If you make the dish and share it on your social media please don‘t forget to tag me @recipesaresimple and hashtag it #recipesaresimple on any platform. ♥Please rate the recipe if you have tried it below ↓♦Quick Browse to see All Recipes by Category.♦World Cuisines to browse recipes by Country ♥Thanks for visiting www.recipesaresimple.com |
Classic Pumpkin Pie
Description
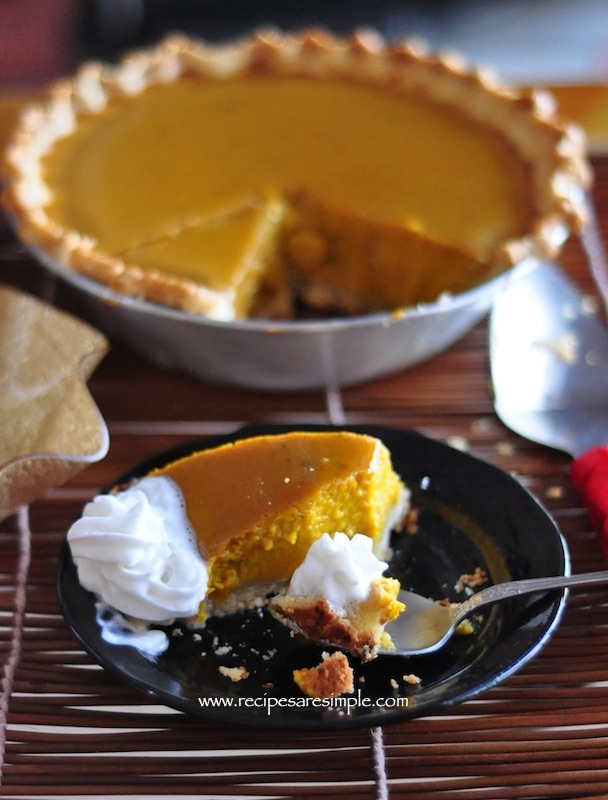
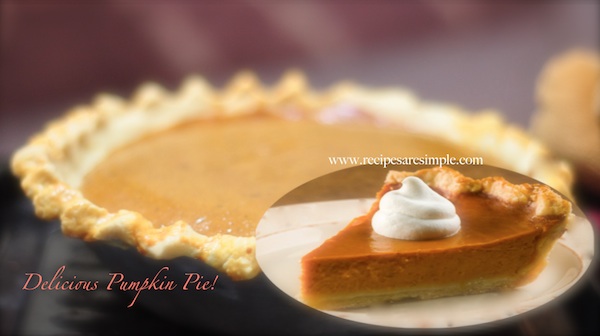
A quintessential dessert of autumn, this pumpkin pie recipe delivers a rich, creamy, and perfectly spiced filling nestled in a flaky, golden-brown crust. The filling combines the earthy sweetness of pureed pumpkin with a warm blend of cinnamon, ginger, nutmeg, and cloves, creating a harmonious and comforting flavor. The crust, whether homemade or store-bought, provides a buttery, crisp contrast to the soft filling. Ideal for Thanksgiving, Christmas, or any fall gathering, this classic pie is a heartwarming and delicious conclusion to any meal. Serve it with a dollop of whipped cream or a scoop of vanilla ice cream for an extra touch of indulgence
Ingredients:
For the Crust: Pate Brisee; see notes
For the Filling:
Instructions
For the Crust:
-
Chill the flour, butter and all ingredients for the pie crust. Place the flour, sugar, and salt combined, in the freezer for 20 minutes before starting. Also, place the processor jar and blades in the freezer if possible. Starting with all ingredients cold gives a flaky crust.
-
In a processor, Pulse the cold flour, sugar, and salt.
-
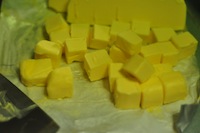
Add the cold butter (cut in cubes) and pulse for 10 seconds exactly → should be of a buttery cornmeal texture.
-
With the machine still running, pour the water from a glass of iced water in a slow, steady stream just till the mixture holds together as a dough. (You may not require all the water. Make sure never to let bits of ice fall into the dough).
-
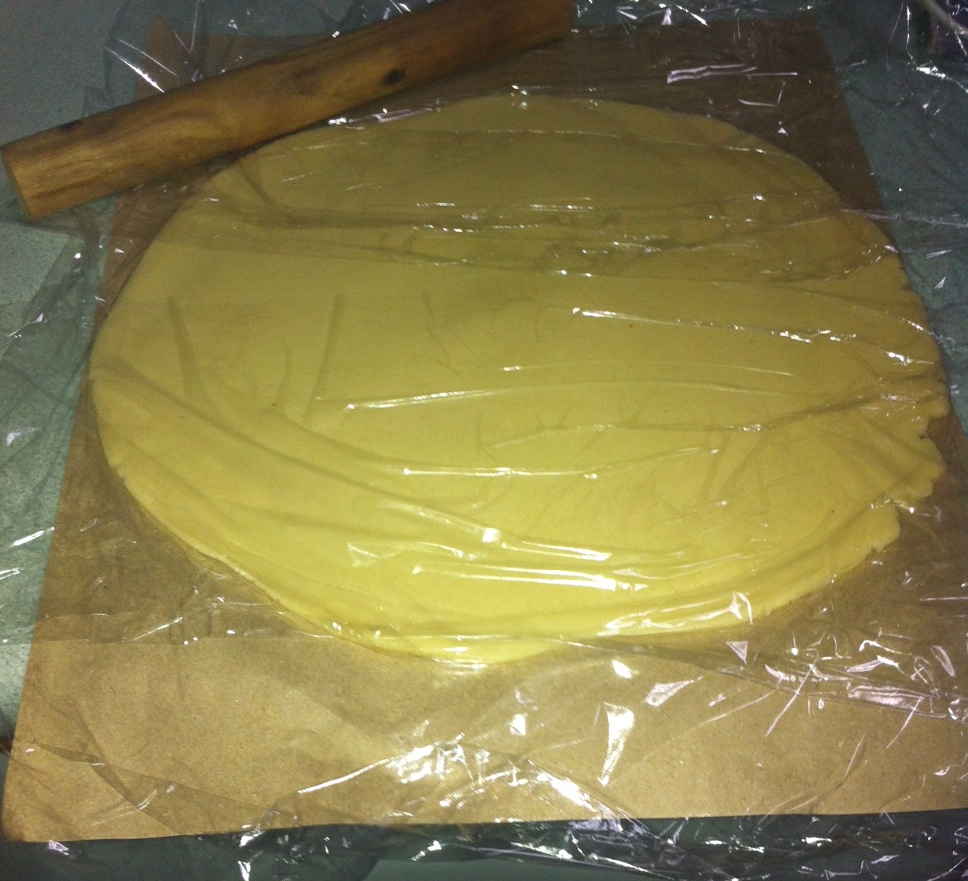
Shape into a large disk. Cover in plastic wrap and refrigerate AT LEAST 1 hour . See Notes
-
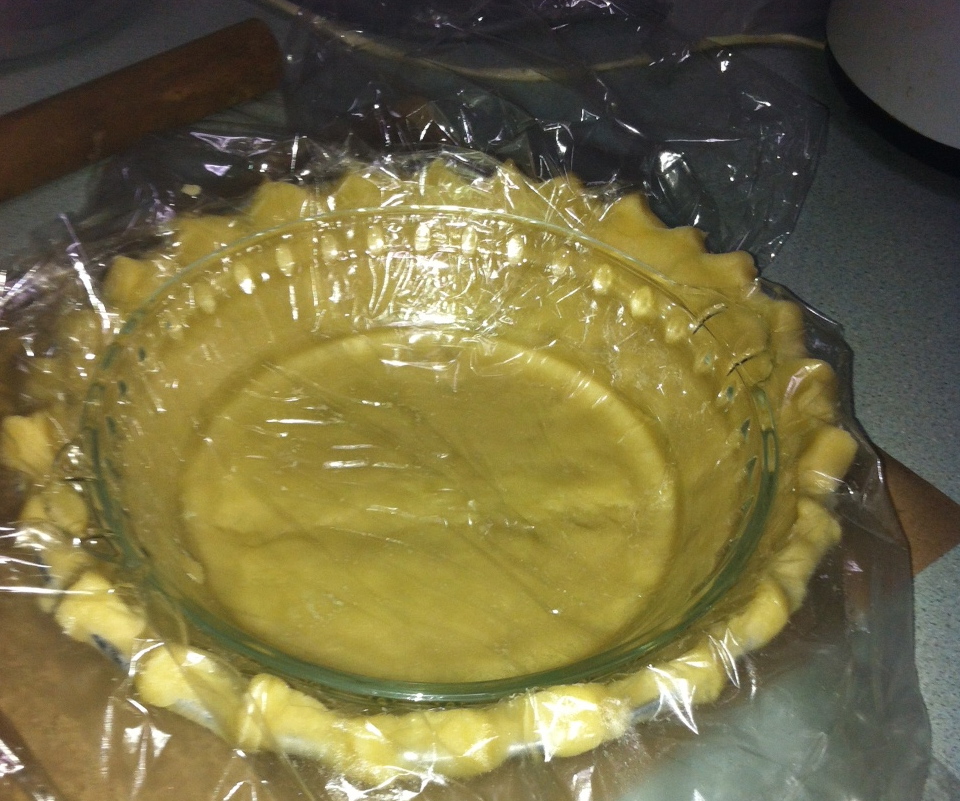
On a lightly floured layer of plastic wrap, lay the disk. Cover with another large piece of plastic wrap and roll into an even circle, larger than the pie dish. You can also roll out with a light sprinkling of flour if this is easier. Refer to video.
-
Lift away the top layer of plastic wrap. Fold over the ’round’ along with the bottom layer of plastic wrap gently into a semi-circle. Flip gently into one side of the pie dish; the semicircle should be the same shape and direction of that half of the pie dish. Now lift away the plastic wrap and gently open up the pastry to cover the entire dish. (Note: the dough should not break or crack if chilled properly). Or you can just flip the rolled out pastry into the pie dish as in the video.
-
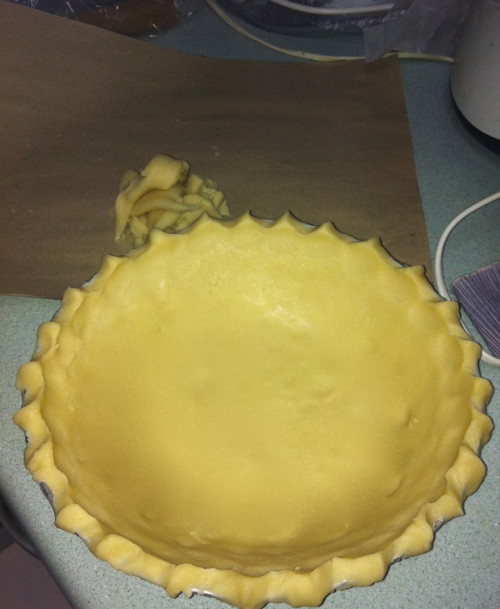
Press gently along the bottom of the dish with the back of your fingers to line the dish with the pastry.
-
Cut around the excess pastry which falls over the border of the pie dish using kitchen scissors.
-
Now pinch all the way around using thumb and index finger to create a decorative edge. (Alternatively, you can use ‘cut out raindrops’ or small pieces(using tiny cookie cutters) from the excess pastry and create a decorative edge by pressing the pieces all around the edges. You can play around with this edge deco to your liking). See notes.
-
Brush all around the edges (only edges) very lightly with the egg wash.
-
Cover lightly with the plastic wrap and place a smaller pyrex dish or some form of weight over the pie base and chill in fridge well or place in freezer for 10 m only.
For the Fresh Homemade Pumpkin puree:
-
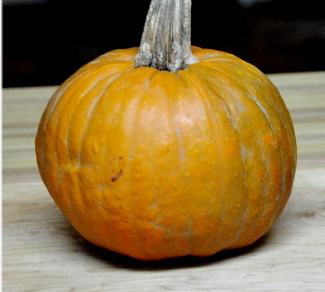
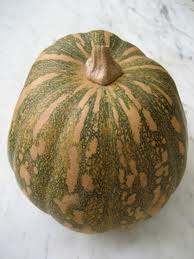
Regular larger pumpkins do not have the same flavor and can be stringy. However, if you can not find smaller pumpkins you can try them; just cook them a bit longer and remove any strings. However various pumpkins can be used to make this pie. Each offering a different flavor. Japanese pumpkins are also great for use in pumpkin pie. Sweeter, they require less sugar but offer a fantastic smooth pie.
Start with a Preheated oven – 425°F/218ºC
-
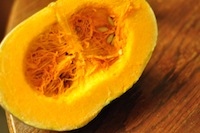
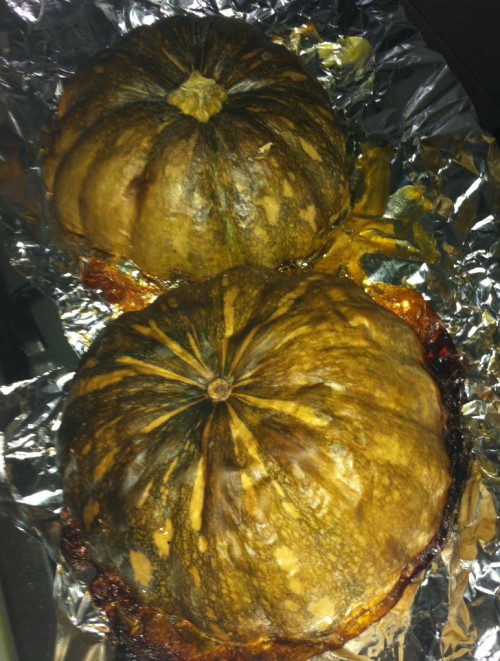
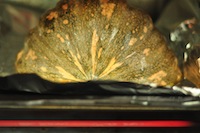
Cut the cleaned pumpkin in half. Remove seeds. Place, cut side down on tray lined with a baking sheet or foil and bake 50- 60 minutes till the pumpkin becomes soft to the touch.
-
Scoop out all the tender flesh, (discard the skin) and Puree through the fine blade of a food mill or similarly (I use a handheld, fine blade scallion cutter to just whip into a fine puree)
Filling:
-
Preheat oven to 425ºF/218 ºc.
-
In a large bowl, combine the sugar, cornstarch, salt, powdered ginger, cinnamon, and cloves.
-
To this add the evaporated milk and whisk till smooth and velvety.
-
Beat the eggs separately and add this into the bowl – last. Beat again till incorporated. Do not whisk too much and cause too many air bubbles. Just make the mixture glossy.
-
Now quickly pour this filling into our chilled pie crust. Place on a lower rack /tray in the oven and bake 10 minutes.
-
Reduce heat to 350 ºF/177 ºc and continue baking for 30 minutes (till center no longer jiggles and a toothpick comes out clean)
-
Transfer to wire rack and allow to cool completely.
-
Can be served with whipped cream or just as is! Later try it cold as well!

Note
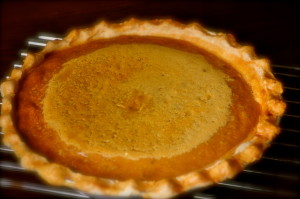
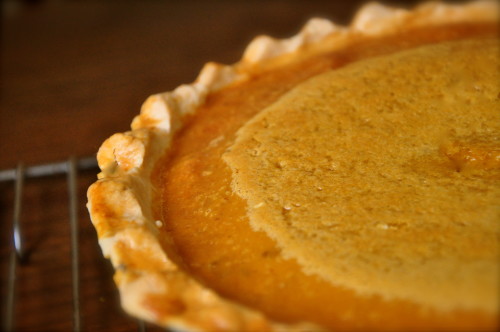
In the picture ABOVE, the pumpkin pie has a foamy-looking center, It still has the same great taste and feel, but ruins the look of the pie. This can be eliminated if ◊♦the filling is heated up well before adding the egg (◊♦also beating the egg separately before adding to the filling)_◊♦and then immediately pour the filling into the crust. The top should ideally look 'still wet' so don't overbake and risk cracks. If you find the top is turning brown too fast, Cover it with foil for some time of the baking and remove towards the last 10 minutes.
Do not be tempted to add more spices( ginger, cinnamon, cloves) The measurements given are perfect. We don't want the spices to overpower the flavor.
Pate Brisee or Shortcrust pastry is a type of pastry often used for the base of a tart, quiche or pie It does not puff up during baking because it usually contains no leavening agent. It is possible to make shortcrust pastry with self-raising flour, however. Shortcrust pastry can be used to make both sweet and savory pies such as apple pie, quiche, lemon meringue or chicken pie. Many shortcrust pastries are also prepared using vegetable shortening, a fat food product that is solid at room temperature, the composition of which lends to creating crumbly, shortcrust-style pastries and pastry crusts. Leftover pastry dough after trimming the edges can be rolled out, cut to cookies with a cookie cutter, sprinkled with cinnamon sugar, and baked or baked plain into a quick snack and are 'utterly buttery good!
Refrigerating the pastry disc: (can also be made into 2 smaller disks, if using pastry on top of pie as well. for Pre-planning : can be refrigerated alternatively for 3 days or frozen up to 3 months)
Rolling the pastry dough: Roll in only 1 direction at a time and rotate the disk after each turn. It should be even and thin without any cracks and you should be able to lift it up easily without breaking
Fluted-Edge Piecrust: Many recipes for single-crust pies, especially ones with a generous amount of filling, call for a pie shell with a fluted edge. For a double-crust pie, fluting the edge helps secure the top crust to the bottom crust.

Pumpkin Puree: For Pre-planning may be refrigerated overnight in Tupperware
